
How to delete unnecessary files from the recycle bin in Goodnotus 5 to speed up its work and free up space
To increase free space on your iPad and delete old files in GoodNotes 5, you must permanently delete files if you are not using them. Let's see how to do it.
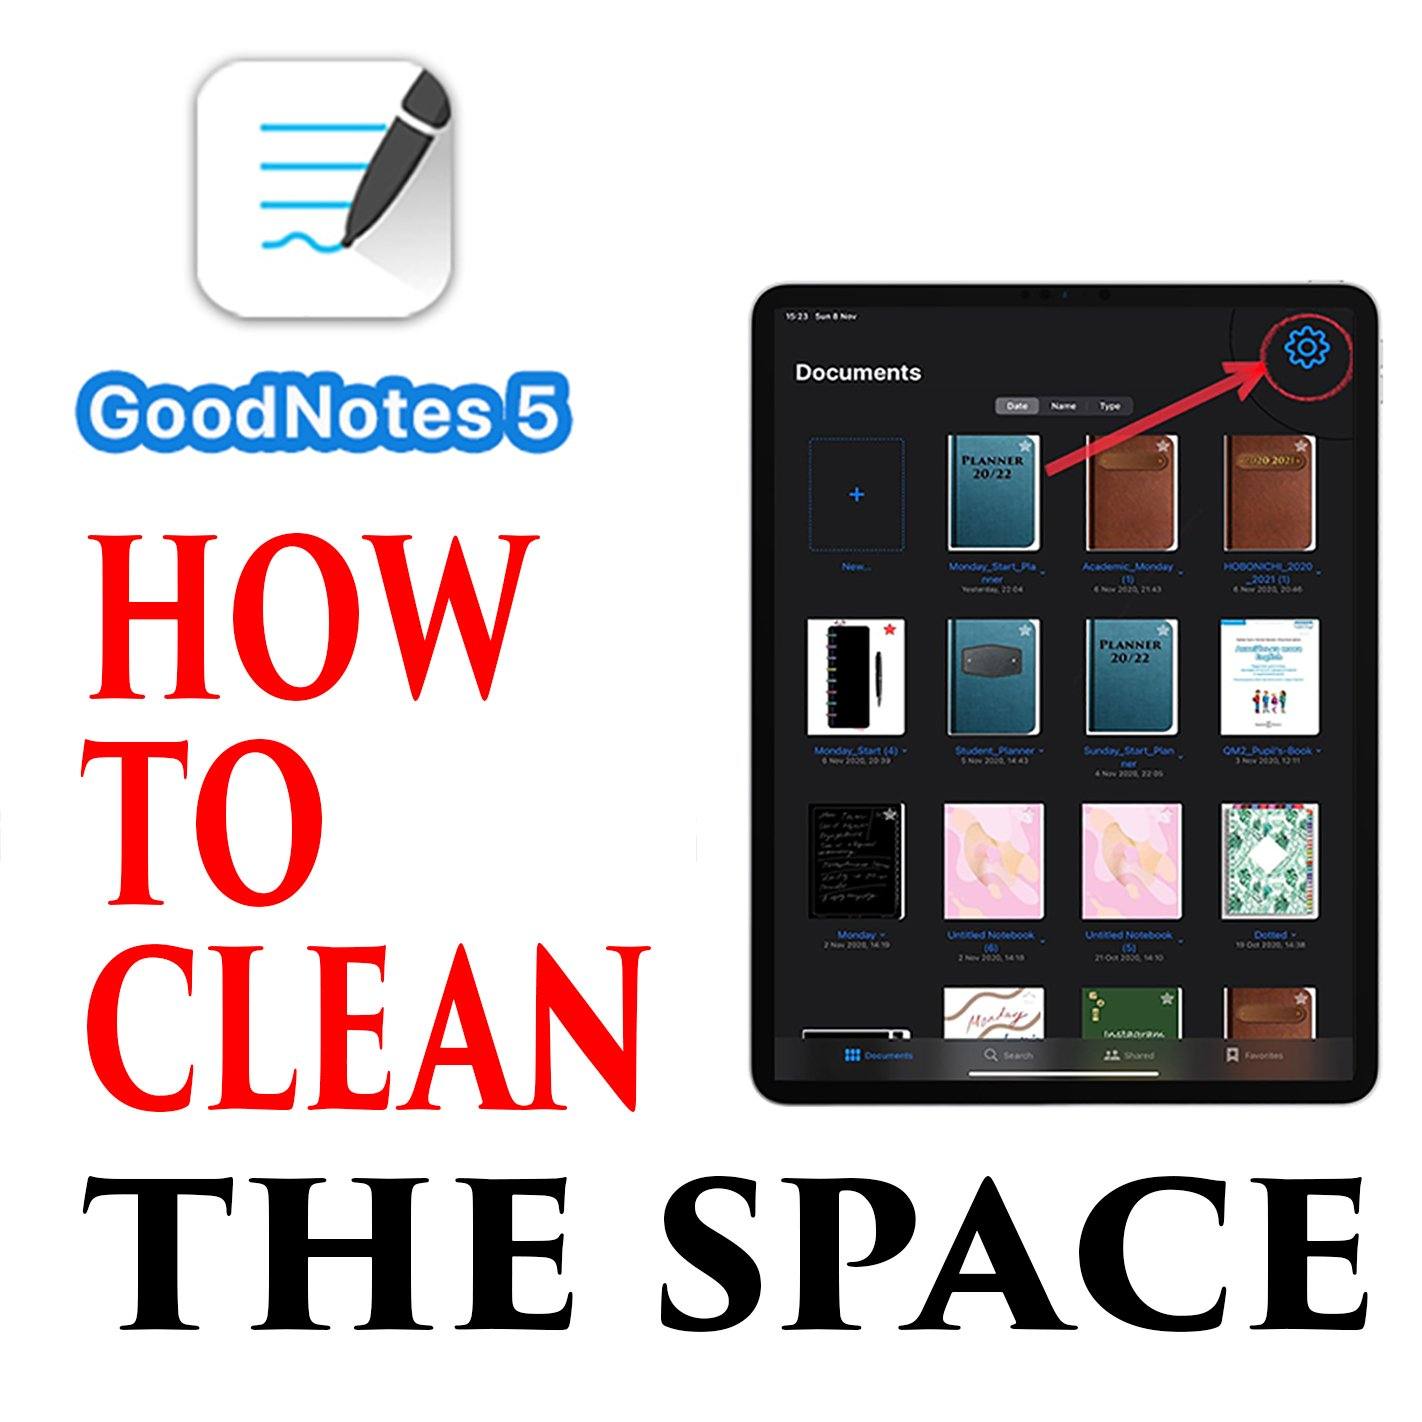
After you have opened GoodNotes 5, go to the main page with files. Click on the icon in the gear in the right corner.

In the submenu that opens, select the "Trash" button.

Click on the button - Select.

Select the files between GoodNotes journal what you want to delete permanently, or you can click on the Select All button.
After Selecting files for permanent deletion - Click on the Delete button.

When all or selected files have removed, click the Done button.

After this deletion of files from the recycle bin, their recovery will become impossible. Be careful; there will be no return.
Check Here some Digital Planner for GoodNotes https://ipadplanner.com/
Comments
Leave a comment