
12 Apple Pencil Tips And Tricks You Should Know About
Apple Pencil Tutorial

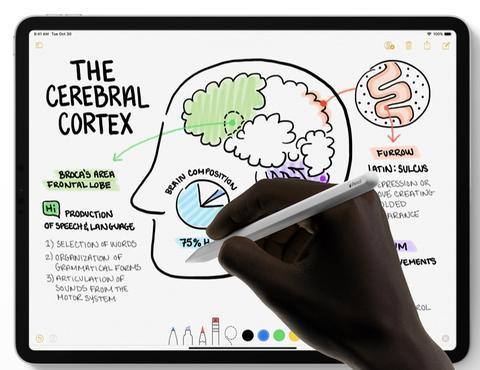
Photo: Apple Pencil
Have you recently purchased an Apple Pencil and you are wondering how to use it? Here are 12 of the best Apple Pencil tips and tricks you should know about.
1. Pairing The Apple Pencil
One of the first steps that you have to take with your Apple Pencil is to pair it with your device. To pair the Apple Pencil, remove the top of it and insert it into the Lightning port of the iPad. Then you will notice a prompt for pairing it with the device and then tap on “Pair.”
2. Charging The Apple Pencil
To charge the Apple Pencil, you simply have to plug it into the iPad again (the same way you pair it). Or you can use the Lightning adapter that comes in the box to charge it with a Lightning USB cable plugged into the wall or your computer.
3. Check The Battery Life
To see how much battery you have left on the Apple Pencil, you will have to pull up the Battery widget on the iPad. This can be found on the Today View of the iPad (swipe all the way to the left).
If you do not see the Battery widget, then you will have to add it by going to the bottom of Today View, tapping on Edit and then selecting the widget that says “Batteries.” Then push the + button and hit done. (Note: The Apple Pencil charges rapidly. For example, The Apple Pencil charges fully in 15 minutes and it gets 30 minutes of usage in 10 seconds of charging).
4. Replacing The Apple Pencil Tip
In case you lose the Apple Pencil tip or it gets damaged, you can replace it with the one that comes in the box. And if that one has been lost or damaged also, then you can buy more from Apple. Simply unscrew the tip and screw it the new one.
5. Applying Pressure
As you make drawings or sketches, you can tilt the Apple Pencil to make shadings. Or you can press firmly on the Apple Pencil to make darker lines. Or when you tilt the Apple Pencil, it may create different textures depending on the app you are using.
6. Palm Rejection
As you use the Apple Pencil, you will notice that the iPad is able to recognize and reject contact with the palm. This will prevent errors from occurring as you use the Apple Pencil.
7. Drawing Straight Lines
Using the ruler in the Notes app, you can draw straight lines with the Apple Pencil. Simply select the Rule and place the ruler with two fingers on a note. Then use the Apple Pencil to draw a straight line.
8. Tap Lock Screen With Apple Pencil
One of the default features with the Apple Pencil is tapping on the Lock Screen to create a new note or edit an existing one. But you can disable this feature by going to Settings app > Notes > Access Notes From Lock Screen.
9. Search Handwritten Notes
The Apple iPad is able to recognize what you wrote with the Apple Pencil using the built-in search on the iPad. Simply pull down the note list on the left side and enter a word in the search. Then it will find hand-written notes that contain that word.
10. Scanning And Signing Documents
The Notes app on iOS allows you to quickly scan documents and you can use your Apple Pencil to sign it. With Notes, you can scan a document by opening the Notes app, tapping the + button, and selecting “Scan Document.” After you take a photo of the document, then you can use the Apple Pencil to sign it.
11. Tracing
You can place a piece of paper on top of the iPad and trace over it with the Apple Pencil. The display still recognizes the strokes so it makes sketching easier.
12. Using Third-Party Apps
The Apple Pencil works with a number of third-party apps. Some of the apps that work with the Apple Pencil include Notability, Adobe Comp CC, Adobe Photoshop Sketch, Paper, Evernote, Linea Sketch, GoodNotes, Pixelmator, uMake, and Pigment.
Comments
Leave a comment